| We all want to increase the performance of our cars. The simplest modifications are usually the most successful for the apprentice home tuner as a high level of technical and tuning expertise is not required to realize gains. Big exhausts and free flowing air cleaners are examples of basic modifications that realize immediate improvements. Enter the Duttweiler Neck. This modification appears to be a straightforward process of wacking off the stock restrictive intercooler (IC) intake neck and welding on another that has a much larger internal diameter.
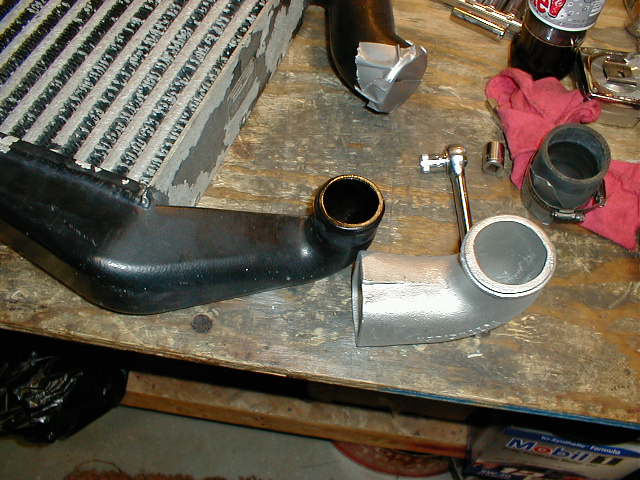
The Duttweiller Neck is an aluminum casting that can be purchase from some of our suppliers. See the venders list on the Turbo Regal homepage. I ordered mine from Kirban Performance Products and it cost about 75 bucks including shipping. It comes in a kit that includes the neck casting, a special stepped connecting hose and two stainless steel clamps. This modification was a natural for me as I have over 35 years of welding experience and a TIG welder in my garage but any competent welding shop should be able to do the modification. To obtain the best results (air flow) the neck to IC weld joint must aligned internally. Just welding it on will show flow gains but for maximum improvement the installation requires a little extra care. More on that later. Some of the tools I used are shown in the picture . Not shown are a hacksaw, electric Milwaukee saw, 7 inch air grinder and of course the TIG welder. Not all the small tools are totally necessary but it speeds up the installation. |
|


 |
|
|
 |
|
|
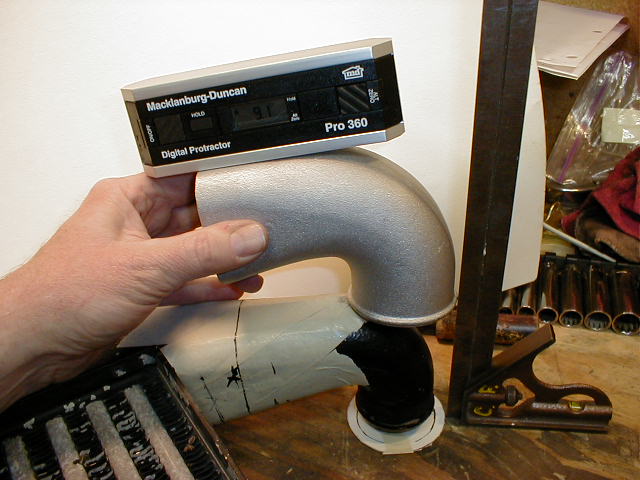
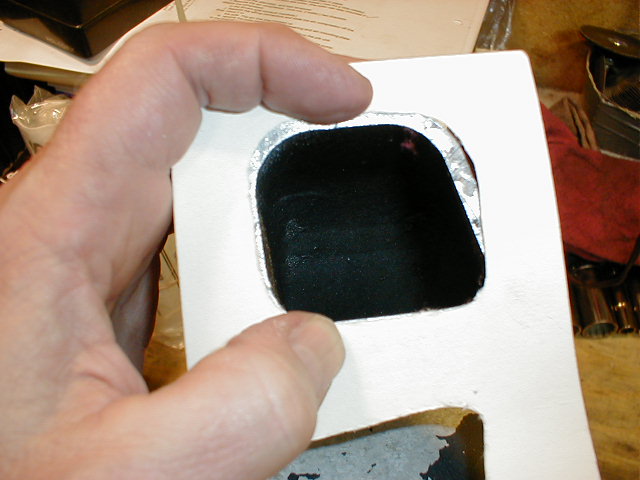
Plan B, I used the location of the old neck opening to determine the position for the opening of the new one. I traced the OD of the Duttweiler Neck on a piece of stiff paper, cut it out and traced the OD of the opening of the stock neck inside the circle of the Duttweiler circle. I then clamped the IC to my bench and checked the angle of the stock neck.
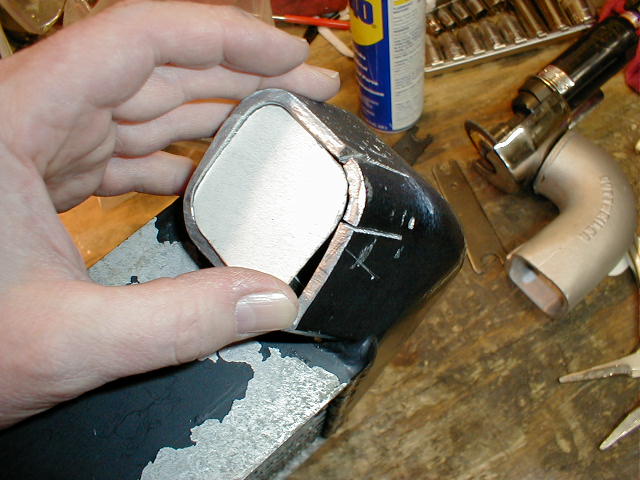
By positioning the Duttweiler Neck over the stock one, aligning it with a square to the tracing and setting it to the angle of the stock neck, the cut lines could be determined. The picture should clarify.
Note, I used a digital level. The plastic ones only cost about 10 bucks and will work but I hate the bouncing needle. To make sure the alignment was correct I cut the IC neck off a half inch short for the first trial fit. There is probably a better way but this method worked for me. I cut the neck off with a power hack saw and dressed the cut surface flat (for a more accurate trial fit up)
 |
|
|
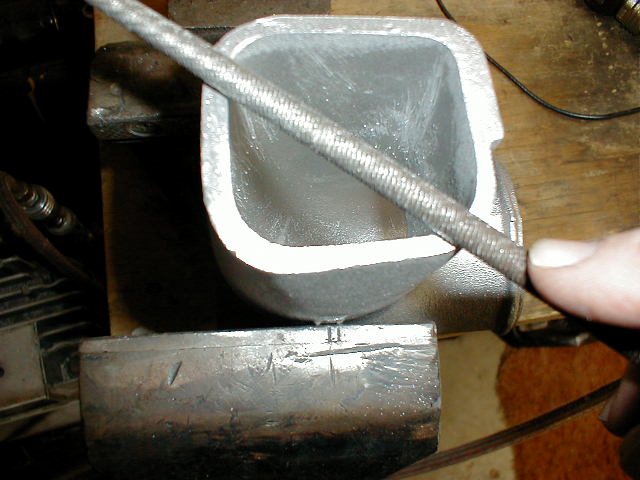
After the neck was again aligned with the turbo it was taped into position. The IC with the new neck taped on was removed. Three lines about 3 inches long were made through the weld joint. Two points were made on the lines 2 inches apart, one on each side of the weld joint.
The lines were scribed into the neck and IC and the points center punched. These lines will be used for final tacking alignment prior to welding
 |
|
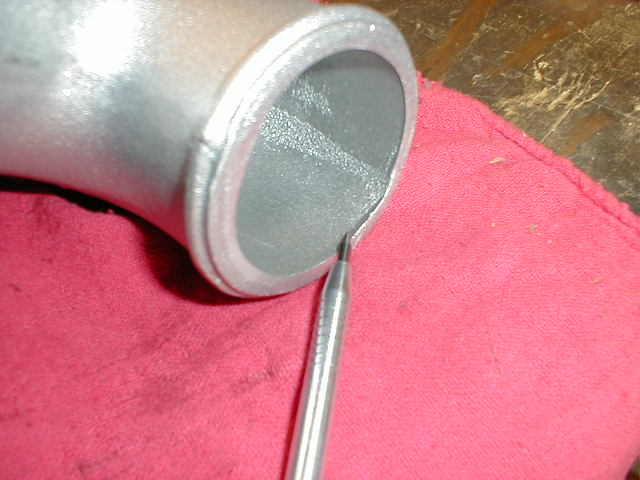
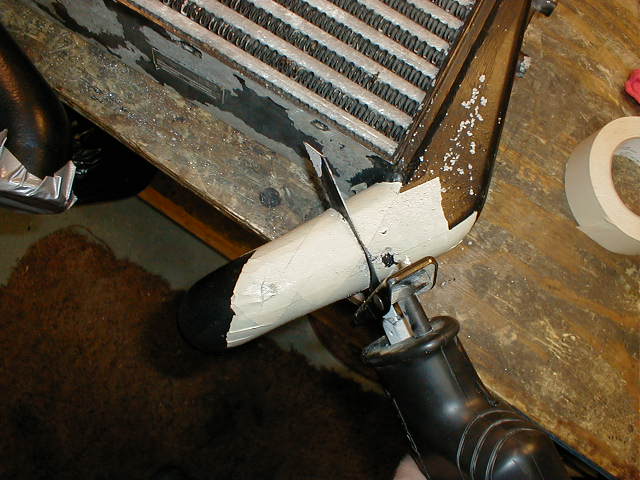
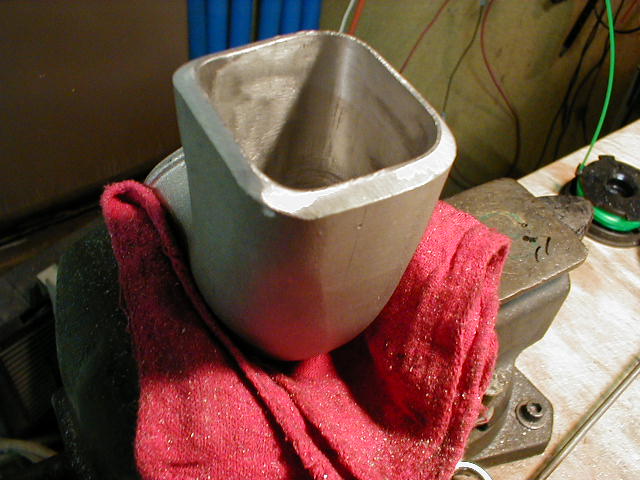
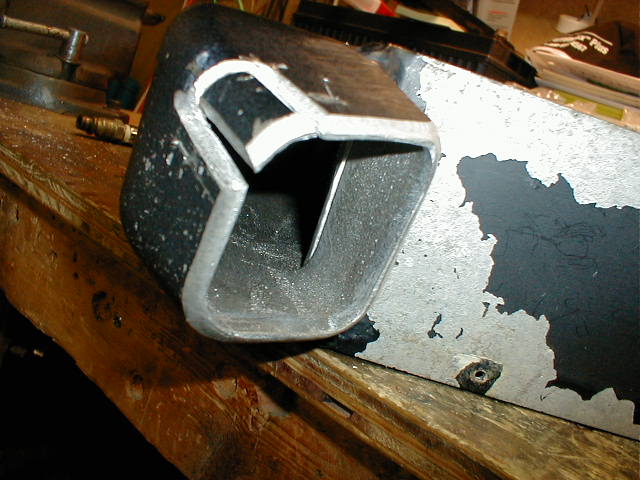
intercooler and the neck clearly here... |
This is serious because the flow from the neck would "catch" the edge of the IC. To correct the misalignment, two pie cuts were made into the opening edge of the neck. The sides of the IC opening could then be bent out to align the opening to the new neck.
The cuts will be filled with weld later.
 |
|
|
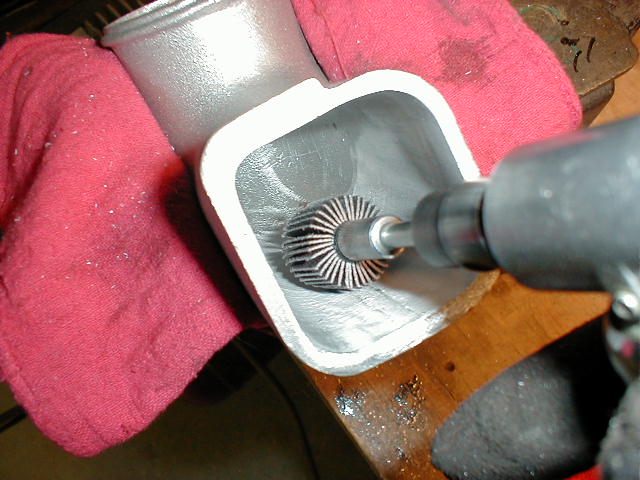
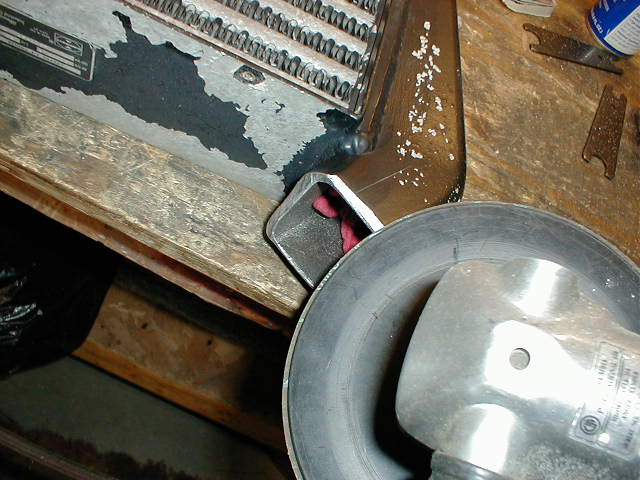
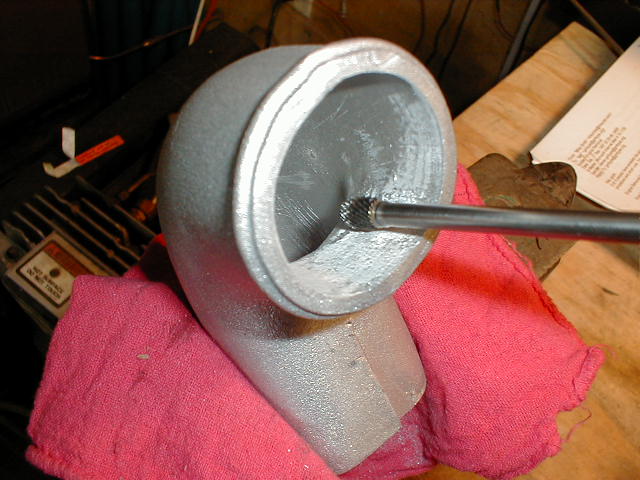
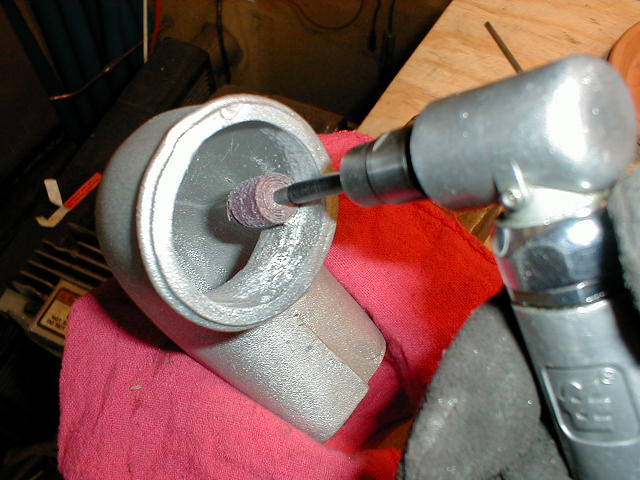
To make sure the pad doesn't load, the pad was turned fairly slow to keep the aluminum from overheating. The beveled weld joints in the IC opening can be seen in this photo. The photo shows a groove cut between the ends of the two pie cuts. This is where the IC cracked when bent out for alignment. The crack was completely ground out for repair. The new neck must also have all the weld joints beveled.
 |
|
|
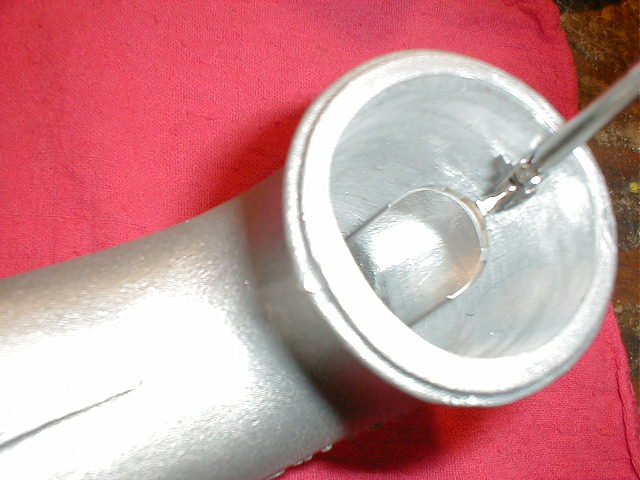
The next problem was to make sure the neck is aligned with the turbo outlet and the ID of the IC and the neck are aligned. To make sure the new neck was positioned correctly, the scribe lines were aligned and the punch marks checked to make sure they were two inches apart. When in position the neck was tacked in place with two cold tacks. The ID alignment was checked with a small mirror.
The alignment was off so one tack was cut and the neck shifted into alignment on that side and retacked. Then the other tack was cut and it was realigned and tacked again. The process was repeated to "walk" the neck into position. Once the ID surfaces were in alignment a deep, hot tack was made on all sides. This photo shows two cold tacks that were cut and a hot tack in the middle. The cold tacks that were cut were ground off before final welding.
The neck was then ready for finish welding.
 |
|
|
If this occurred there would be no way to grind it out with the neck installed. The final pass finished the job.
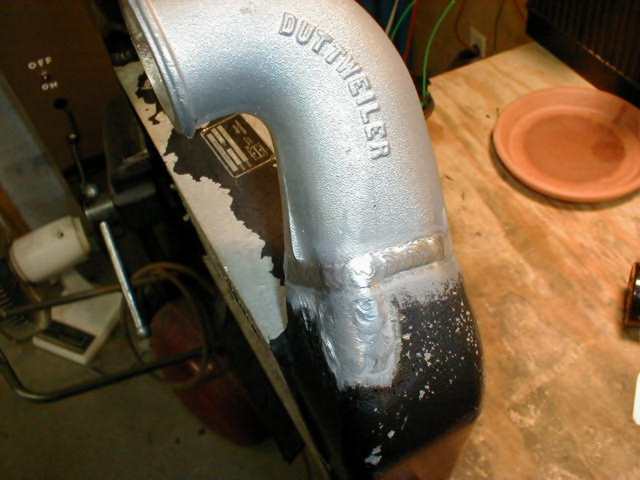
All that is left is to decide wether to leave the welds and the word Duttweiler on or grind them off to make the installation covert. The completed IC should be scuffed up and painted and then (important) blown out with air and flushed with hot water to insure no metal debris remains inside.
Done!