- Disclaimer:
- THESE INSTRUCTIONS ARE FOR POWERMASTER EQUIPPED CARS! An earlier car with the Hydroboost system will have the FRONT brake line in the FRONT of the master cylinder, unlike the later cars. This article may not contain complete or accurate instructions for cars other than a 1986/87 PowerMaster equipped Turbo Regal.
- Brakes are a critical safety item, so if you do no feel comfortable performing brake work or lack experience in doing brakes, take it to a professional shop.
- Jack the car up so that both rear wheels can be removed. Be sure to use the GM approved jacking procedures and to use jack stands. This will provide one wheel as a reference while working on the other.
- Relieve pressure in the PowerMaster system by depressing teh brake pedal 10 times with the ignition off.
- Remove both wheels and both brake drums. Do not inhale the dust, as it often contains asbestos.
- Remove the springs holding the brake shoes to the backing platew with a brake tool. Be careful to disassemble the brake only enough to allow access to the brake cylinder.
- Loosen and disconnect the brake line attached to the cylinder. This line is found behind the backing plate (towards the top) and will probably involve lying under the car. Use a rag to catch any brake fluid that drips.
- Remove the round clip holding the brake cylinder to the backing plate. This clip is again behind the backing plate. Insert a sharp object in the grooves to pry loose the clip's holding tang. I found that a scratch awl worked great for releasing the tangs that hold the clip in place.
- Now the cylinder should be easy to remove from the outside of the backing plate.
- Have someone hold the cylinder in place with a screwdriver or pry bar (or jam a paperback book between the axle hub and the new cylinder to hold it in place).
- Push the new clip onto the cylinder (on the other side of the backing plate) with two flat bladed screwdrivers.
- Reconnect the brake line. DO NOT OVERTIGHTEN!
- Reassemble the brake springs, using the other wheel as a guide.
- Repeat the procedure on the other wheel.
With the larger wheel cylinders, you'll find that burnouts will become harder due to the extra clamping power the new wheel cylinders provide.
This procedure details installation of the line lock on the fenderwell between the Master Cylinder and the Combination Valve. Some technical inspections may require to the line lock to be after the combination valve, so see the drawings below before starting your project. You may need additional parts (steel plugs and new lines) and the ability to bend new lines.
The following parts are need for installation:
- Hurst rebuildable Link Lock. This is a quality unit and is available from a variety of sources for about $100.
- Brass block off plugs and NPT to flare fittings for attaching the brake lines to the line lock. These fittings are available at NAPA and the part numbers are listed in the instruction manual included with the line lock kit.
- Addition 16 guage wire to allow more flexibility fin mounting the indicator light and switch. I mounted my line lock switch in the ashtray switch panel of my GN.
- mall panel lamp (green or red OPTIONAL). I chose to replace the LARGE red lamp supplied in the kit with a small panel lamp from Radio Shack. Be sure to pick one rated for 12 volts. A lighted switch is also a good option.
- Teflon tape or Teflon liquid sealer. All fittings (except flare fittings) should be wrapped wtih tape or have sealer applied to them.
The following tools will be needed (in addition to the normal wrenches and screwdrivers):
- Tubing Cutter: The smaller, the easier it will be to work with.
- Flaring tool with double flaring cones. This item can often be borrowed from a brake or muffler shop. It is very important that the tool be a DOUBLE flaring tool, due to the high pressures involved in the brake system.
The following steps are involved in this installation:
- Release the brake line pressure by pumping the brake pedal at least 10 times with the ignition OFF. (PowerMaster equipped cars).
- Loosen and disconnect the brake line attached to the REAR of the master cylinder. This brake line goes to the front brakes, and you will be placing the line lock in this line. A Hydroboost equipped car will normally have the front brake lines attached to the FRONT of master cylinder.
- Carefully cut the brake line using the tubing cuttter, approximately 5-6 inches from the fitting that goes into the master cylinder.
- Remove the six inch piece and slide the appropriate fitting over the newly cut end.
- Using the flaring tool, follow the directions and make a double flare on the cut end.
- Block off the unused output ports on the line lock with brass plugs. Be sure to wrap them in teflon tape, or to use teflon sealer.
- Mount the line lock on the fender within reach of your 6 inch piece of tubing and the master cylinder. An alternative to this is to mount the line lock down by the ditribution block on the frame. This mounting location will preserve the stock appearance of the engine compartment, but is quite a bit harder to reach and work on. A line lock mounted in this position is also more susceptible to road grime and water.
- Slip a fitting over the end of the remaining brake line and make another double flare. This can be done (with a little care and patience) in the car without removing the brake line. Removing the brake line is always an option if you are having trouble getting enough room to work.
- Now screw the six inch brake line with the new fitting into the chosen INPUT port on the line line lock (marked in the directions). I chose the one on the top of the cylinder. Be sure to use Teflon sealer or tape.
- Screw the other fiting into one of the OUTPUT ports on the line lock. I chose one at a 90 degree angle to the input line, since it left the brake line with no additional bends. Again, make sure to use the Teflon sealer or tape.
- We're in the home stretch now! Jack the car up so that both front wheels can be removed. This will allow you access to the bleeder valves on the back of the calipers.
- Remove both wheels. Do not inhale the dust as it often contains asbestos.
- Since air has proably been introduced by the installation of the wheel cylinders and the line lock, you MUST bleed the brake lines THOROUGHLY.
 |
|
|
 |
|
|
 |
|
|
- Bleeding should be performed in this order:
- RIGHT REAR
- LEFT REAR
- RIGHT FRONT
- LEFT FRONT
- Get a friend who doesn't mind repetative tasks! Your friend will be asked to depress the brake pedal slowly and SMOOTHLY while you open and close the bleeder nipples.
- As already noted, ensure that the pressure has been released from the system.
- Clean the top of the master cylinder and then remove the top cover. This prevents dirt or moisture from the cap dropping into the brake fluid.
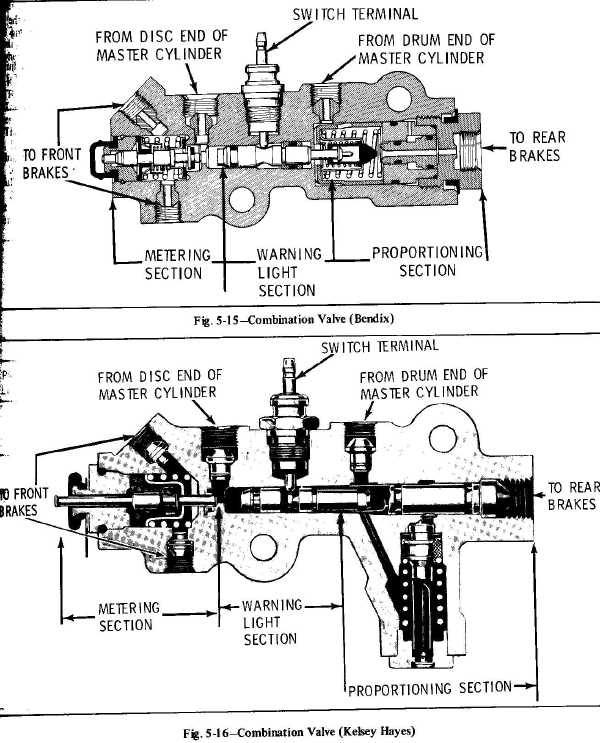
- The spring loaded plunger on the front of the proportioning valve should be depressed while bleeding the system. The valve is mounted on the inside of the driver's side frame rail.
- A "C" clamp or piece of wire and chunk of wood can be used to hold the plunger while bleeding the brakes. The plunger is normally at the "in" position and the "C" clamp (or wire/wood) is used to hold the plunger in this position.
- Attach a bleeder hose and dangle the end into a clear container.
- Have your friend lightly depress the brake pedal (with ignition ON). While this is done, open the bleeder nipple and observe the fluid flow.
- Have your friend slowly push the brake pedal to the floor and then hold it there until the fluid flow stops. Close the nipple and THEN tell your assistant to release the pedal. This is important, since releasing the pedal too early will suck air back into the line.
- Allow your friend to release the pedal. Repeat steps x and y several (10-15 times) until the fluid flow is steady and bubble free. ALWAYS BE SURE THAT THERE IS FLUID IN THE MASTER CYLINDER RESERVOIR! Never let it go dry, or you'll have to start all over (and I'll guarantee that you'll be worse off than before).
- Tighten the nipple and clean up.
- Repeat this procedure for each wheel in the order specified above.
There it is then! Now you can go play ProStock at your favorite drag strip! Be sure NEVER to engage the line lock while the car is moving, since it prevents the brakes from releasing. This is potentially dangerous and could result in more than just embarrassment. Now, go practice your BURNOUTS!!